I have made a series of tables for those that want to calculate and create their own pizza dough recipes. By the way, when I say tables, I mean “chart” tables, not “dining” tables!
A pizza table is a thing of beauty!
The tables are in PDF form and they were mainly designed for mobile devices. Although, you can still use them perfectly fine on desktop or tablet (you may just need to zoom out a little).
I have produced tables for both regular pizza dough (direct method – example recipe here) and poolish pizza dough (indirect method – example recipe here). Keep reading for more information on this.
To get the tables, you simply need to sign up to my mailing list below. Once you’ve signed up, you’ll recive an email with the FREE tables.
Thanks for subscribing!
Keep reading to find out exactly how to use the tables. If you’d like to skip to any section, you can use the page contents below. You can also return to the page contents at any time by pressing the green button at the top right of the screen.
In this article I’ll explain what the tables show, and how to use them. They may seem complicated at first, but actually they’re quite straightforward once you understand them.
Soon you’ll be creating your own recipes!
If you do have any questions, feel free to leave them in the comments section at the bottom of the page. I respond to each comment as quickly as I can.
With that being said, let’s get into it!
Introduction To The Tables
I’ve listed a few points in this section that are worth considering about the tables before we go any further. These should help to serve as a brief introduction.
There are tables for both the direct and the indirect methods of making pizza dough. For more information, check out this article on the direct vs indirect method. Basically, the direct method is the “normal” way of making pizza dough and indirect method is more “advanced”. If you’re unsure, just stick to the direct method.
The values in the tables show the amount of yeast required as a percentage of the total flour in the recipe (“baker’s percentage”). The quantity of yeast required is dependent on the desired length of proof (fermentation) and the ambient (room) temperature.
The values for yeast in the tables are for instant/active dried yeast. For fresh yeast, simply multiply the values by 3.
Bear in mind that the tables are mainly designed for Neapolitan pizza but they can also be used for New York style pizza. After all, New York pizza is basically a child of the Neapolitan style. I’ll discuss this next.
The tables can be used for both Neapolitan and New York style pizza
Using the tables for Neapolitan pizza
Selecting any of the options in the tables allows you to fall within the official Neapolitan pizza guidelines. The only place where the tables differ is on the proving temperature (see below for more information).
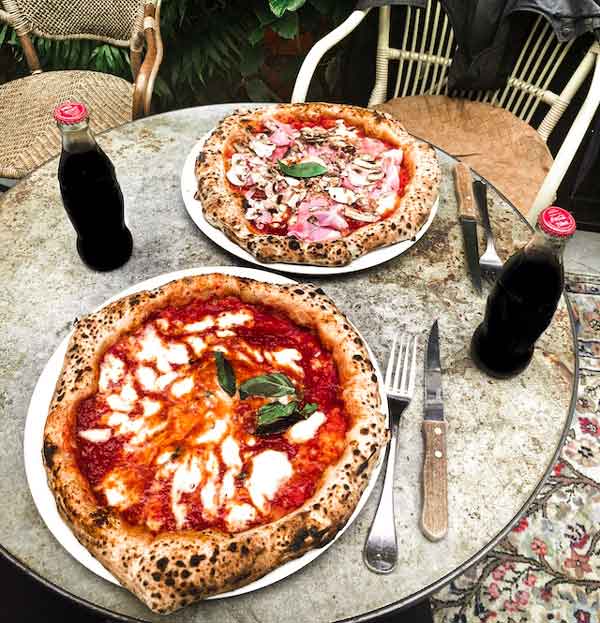
Delicious Neapolitan style pizza!
Key points for Neapolitan pizza:
I have included a proof time of between 8 and 24 hours. This is the proof range recommended in the official Neapolitan guide (AVPN).
The recommended temperature range in the Neapolitan guide is 16-22C, or around room temperature. However, I have included a temperature range of between 13C and 33C for those that are proofing at a particularly cold or warm (room) temperature.
I have also have an article (with a recipe) on Neapolitan style poolish pizza here. This method is a bit more advanced (the indirect method), so I only recommend it for those that are confident with the regular way of making dough (the direct method).
Using the tables for New York pizza
New York pizza doesn’t have any sort of official guidelines. The dough is in fact very similar to Neapolitan dough. However, there do tend to be a few key differences which I’ve listed below.
Incredible New York style pizza
Key points for New York pizza:
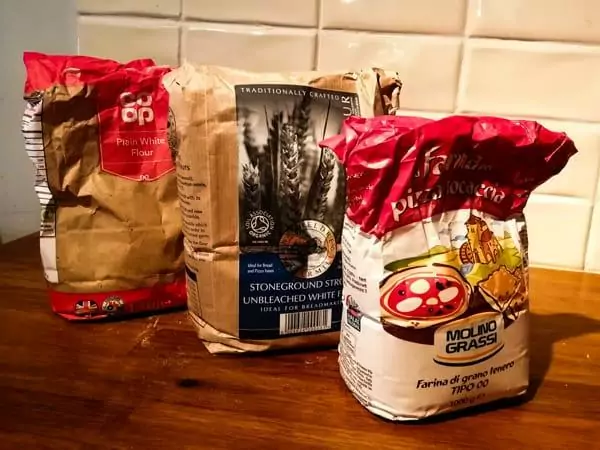
Swapping the 00 flour for high protein (above 12g) white bread flour will result in a more authentic New York style pizza.
If you do use bread flour, I would recommend going towards the upper end of the hydration range. This should account for the difference in the coarsness of the flour.
Many New York pizzerias tend to add generous amounts of salt to the dough. You may want to consider going towards the upper end of the salt quantity.
Adding sugar to the dough is common with New York pizza. If you wish to add it, I would recommend adding about the same amount of sugar as salt, or maybe a bit less.
Olive oil is also quite a common addition to New York dough. If you want to add this, I would recommend adding about the same amount as the salt again.
If you do use olive oil, be sure to subtract the same amount of water from your recipe. Otherwise, your dough will be a higher hydration than intended.
It is worth considering that the ingredients and methods used can have a huge effect on the dough. This is particularly true for the type of flour and yeast used, as well as the type of dough (direct or indirect).
For this reason, I recommend sticking to the same ingredients and methods initially. This should make it easier to dial your recipe in.
Your ingredients, especially the flour, can have a huge impact on the dough
Here’s some things to consider and ways in which you may want to alter your recipe:
Is your dough too wet and sticky? You may want to reduce the hydration.
Is your dough too tough and difficult to stretch? You may want to increase the hydration.
Is your dough too salty or not salty enough? You may want to adjust the salt level.
Is your dough proving too quickly or too slowly? Check your room temperature and ensure you’re selecting the correct amount of yeast.
If required, use slightly more or slightly less yeast to dial in the prove as much as possible.
Once you are happy with that recipe, you could then experiment with other ingredients and methods if you like. For example, after becomming confident with the direct method, you could move onto the indirect method.
Thanks for subscribing!
Alternatively, you could experiment with different flours, prove times, and hydrations. The world is your oyster (or pizza)!
Adjusting your recipe to your conditions is going to help you to achieve the best dough possible
Consider that you would probably need to tweak your recipe again following any significant changes to your ingredients and/or methods.
Now, let’s move onto how to actually use the tables.
Calculating Flour, Water, and Salt – Table 1
Before calculating how much yeast you require, tables 1a and 1b should be used to determine how much flour, water, and salt you need. These tables should be used regardless of whether you are using the direct or indirect method.
Table 1a shows the amount of flour and water required for 1 pizza, depending on the dough weight and required hydration (water percentage).
Table 1b shows the amount of salt required for 1 pizza, depending on the required salt percentage.
Notes:
In the Official Neapolitan guide (AVPN), the recommended weight is 200g for small pizzas (around 9 inches) and 280g for large pizzas (around 12 inches). Of course, you can also choose a size in between this if you wish. Personally, I find 250g to 260g to be a good weight for a 10 to 11 inch pizza.
In terms of hydration, 56%-62% is the recommended range (using 00 or 0 flour) in the Official Neapolitan guide (AVPN). For beginners, I would recommend starting low (at around 56%-58%) as this tends to make a more forgiving dough which is easier to shape.
Generally, between 2% – 3% salt compared to the weight of flour (baker’s percentage) is recommended. Personally, I tend to use 2.2% to 2.5% salt but you can adjust this to your liking.
Once you have a list of quantities, you can simply multiply them all by the number of pizzas you require. This will give you a list of the total quantity of ingredients (apart from the yeast – we’ll move onto this in the next section).
Be sure to weigh all your ingredients to ensure accuracy ( note that 1g of water is equal to 1ml – pretty cool eh?!)
Now we have the ingredient quantities calculated, let’s move onto the yeast.
The Direct Method – Table 2
Table 2 (in the PDF guide) shows the amount of yeast required for the direct method of making pizza dough. Below are the steps needed to use the table.
Calculate the flour, water, and salt required using tables 1a and 1b before using Table 2.
Once you have these ingredients, multiply by the number of pizzas you require. This will give you the total amount of flour, water, and salt required in your recipe.
To use Table 2, choose your prove time along the top and your room temperature along the side. Then you can read off the amount of yeast required (as a percentage of total flour in the recipe).
Calculate the amount of yeast required by using the total flour from step 2 percentage determined in step 3.
Note: There is an example at the end of this page. Click here to check out the example now.
The direct method may be quicker and easier, but it can still make incredible pizza!
Table 3 shows the amount of yeast required for the indirect method (poolish) of making pizza dough. Below are the steps required for using this table.
Note: Since the indirect method (poolish) can be quite challenging to understand, I have split it into 2 sections. Below, the calculations are explained first, followed by the method.
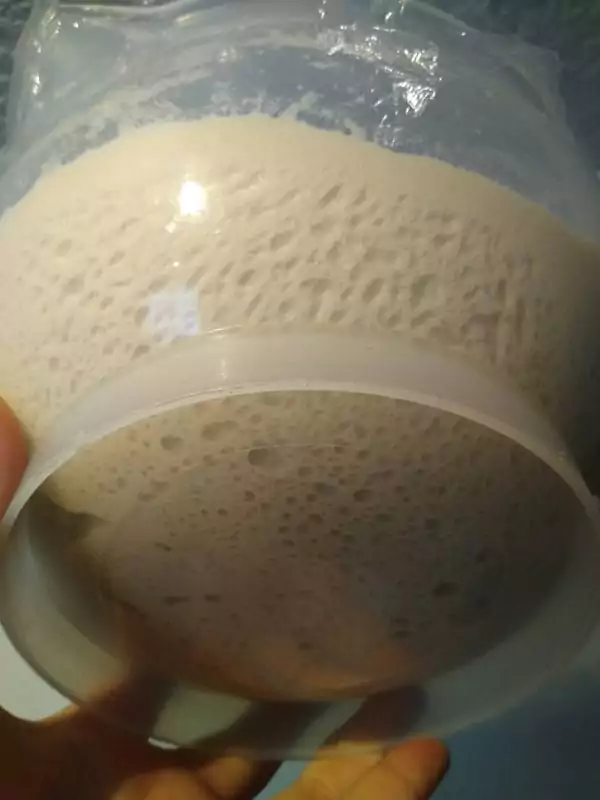
Time to make the poolish – I can smell it already! (It smells amazing!)
The Calculations
At each step, make a note of every quantity that you calculate.
Determine the flour and water required for 1 dough ball using table 1a.
Determine the salt required for 1 dough ball using table 1b.
Once you have the quantities, multiply them by the number of pizzas you require. This will give you the total amount of flour, water, and salt required in your recipe.
To use Table 3a, choose your poolish prove time along the top (10 hours is standard) and your room temperature along the side (21C/70F is about average). Then you can read off the amount of yeast required (as a percentage of flour in the poolish only – not the total amount of flour in the recipe).
To use Table 3b, choose your dough prove time (following the poolish prove) along the top (as a multiple of your poolish prove time). This will then give you the percentage of total flour which should be in the poolish.
Calculate the amount of flour in your poolish using the values for poolish percentage (step 4) and total flour (step 3). Note that the amount of water in your poolish is always equal to the flour.
Calculate the quantity of yeast required in the poolish using the percentage (step 4) and the poolish flour (step 6).
To determine how much flour to add to the poolish (after it has proved), subtract the amount of flour in your poolish (step 6) from the total amount of flour (step 3). Note: the salt remains unchanged (step 3) and is added at this stage.
To determine how much water to add to the poolish (after it has proved), subtract the amount of water in your poolish (step 6) from the total amount of water (step 3).
Now we have our calculations made, let’s move onto the method
Method
Using the calculations you have made above, follow the steps below to make your dough.
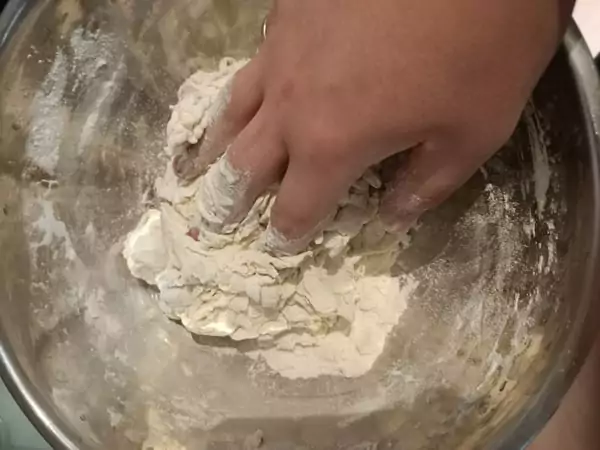
To make your poolish, mix together the flour (step 6), an equal amount of water, and the yeast (step 7). Do not add any salt, this is added later. Then prove your poolish for the determined length of time (step 3).
Once the poolish has proved, add the remaining flour (step 8) along with the water (step 8) and salt (step 3).
Prove your dough for the selected length of time (step 5). Eg: If you selected 12 hours poolish prove time and a 2x dough prove time, your dough would take 24 hours to prove (2 x 12 hours). Therefore your total prove time would be 36 hours (12 hours poolish prove time + 24 hours dough prove time).
I always like to make 1 or 2 extra dough balls (you may be hungrier than you think or you might mess one up – also, more dough balls means more practice)
Example 1 – Direct Method
Below is an example of how to use the tables for the direct method (standard way) of making pizza dough.
For example, let’s say that you want to make 4 pizzas (using the direct method) that weigh 260g, with a hydration of 58% and a salt content of 2.2%. You want to do a 24 hour proof, and the temperature of your room is 21C. This is how you would determine the recipe:
Using table 3a, we can see that for 1 dough ball (of 260g @ 58% hydration), we require 164g flour and 96g water
Using table 3b, we can see that (for 2.2% salt) we require 3.6g salt (roughly)
Multiplying these values by 4 (number of pizzas), we find that, in total we require:
656g flour (164g x 4)
384g water (96g x 4)
14.4g salt (3.6g x 4)
Using table 1, we can see that 0.03% yeast is required. In the next step, we can calculate how much this is in grammes (g) using the total amount of flour:
If you have a calculator with the “%” button, you can type the following:
656 x 0.03% = 0.2g
If you don’t have a calculator with the “%” button, you can multiply by 0.01 (to convert the yeast percentage to a decimal):
656 x 0.03 x 0.01 = 0.2g
Therefore, the complete recipe is as follows:
656g flour
384g water
14.4g salt
0.2g yeast
Notes:
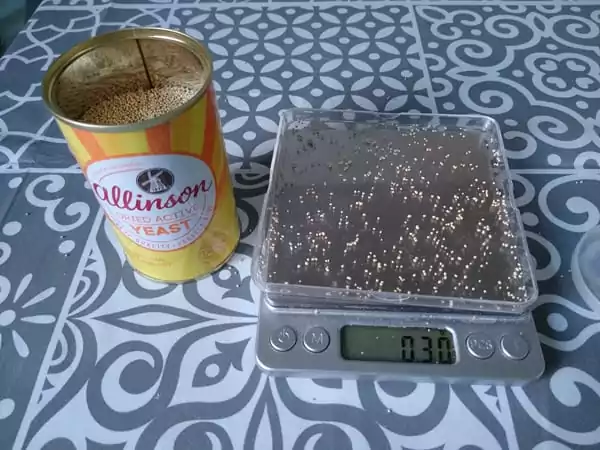
0.2g may seem like a very small amount of yeast, and it is. This is because it is for a long proof of 24 hours, which generally produces a much better dough than a short proof of say 1 or 2 hours, which would probably require around 7g of yeast.
You need some accurate digital scales (accurate to 0.1g) to measure this amount of yeast. They are usually fairly inexpensive and readily available online.
You can check your recipe by doing the following calculations:
To check the water – (384g/656g) x 100 = 58% hydration
To check the salt – (14.4g/656g) x 100 = 2.2% salt
To check the yeast – (0.2g/656g) x 100 = 0.03% yeast
Now we’re ready to make some direct dough pizza!
Example 2 – Indirect Method
Below is an example of how to use the tables for the indirect method (poolish – advanced) of making pizza dough.
For example, let’s say that you want to make 6 pizzas (using the indirect method) that weigh 270g, with a hydration of 60% and a salt content of 2.6%. You want to do a 36 hour prove in total, including a 12 hour primary prove (poolish) and a 24 hour secondary prove (main dough). The temperature of your room is 23C. This is how you would determine the recipe:
Calculations
Using table 3a, we can see that for 1 dough ball (of 270g at 60% hydration), we require 169g flour and 101g water
Using table 3b, we can see that (for 2.6% salt) we require 4.5g salt (roughly)
Multiplying these values by 6 (number of pizzas), we find that, in total we require: – 1,014g flour (169g x 6) – 606g water (101g x 6) – 27g salt (4.5g x 6)
Using Table 2a, we can see that 0.05% yeast (in the poolish) is required (for a 12 hour poolish prove at 23C)
Using Table 2b, we can see that the required percentage of flour in our poolish is 20%. This is because we want a prove time that is twice as long (2X) as the poolish prove time (12 hours)
We can then calculate the amount of flour in the poolish (in g):
(20 / 100) * 1014 = 203g
Now we can calculate the amount of yeast required in our poolish:
(0.05 / 100) * 203 = 0.1g
To calculate the amount of flour to be added to the poolish once it has proved:
1014 – 203 = 811g
To calculate the amount of water to be added to the poolish once it has proved:
606 – 203 = 403g
Therefore, the complete recipe is as follows:
203g flour & 203g water in poolish
0.1g yeast in poolish
811g flour (main dough)
403g water (main dough)
27g salt (main dough)
You can check your recipe by doing the following calculations:
To check overall dough weight – 203g + 203g + 811g + 403g + 27g = 1,647g (the same as 1014g + 606g + 27g = 1,647g from step 3)
To check the yeast (poolish) – (0.1g/406g) x 100 = 0.03% yeast
To check the water (main dough) – ((203g + 403g )/(203g + 811g)) x 100 = 60% hydration
To check the salt (main dough) – (27g/656g) x 100 = 2.2% salt
We’re almost ready to make some incredible poolish pizza like this!
Method
Mix together your determined amount of poolish flour whith an equal amount of water:
203g flour & 203g water
Once this has proved (after 12 hours), add the remaining flour:
811g flour
Also add your water and salt:
403g water & 27g salt
Prove your dough for the selected amount of time:
Prove for 24 hours
Final thoughts on calculating your own pizza recipes…
I know there’s a lot to get through here but it should make a lot more sense once you’ve tried it out. It might just be one of those things where you have to do it to understand it.
Making amazing pizza is simply a matter of time and dedication – like all the best things in life I guess?
But if you do have any questions, be sure to leave them in the comments section below. I’ll try to aswer your queries as quickly as possible.
Well done for getting this far and good luck with your pizza making!
About Me
I’m Tom Rothwell and I’m super passionate about all kinds of homemade pizza! In the last few years I've been on a quest to find the perfect pizza. Now I'm sharing what I've found out with the world!
The range of pizza ovens that Ooni offers is just brilliant. They cover all bases, and all price points. There's affordable and portable models such as the Fyra 12 Pizza Oven and then there's state-of-the-art models such as the Karu 16 Pizza Oven pictured below.
In all honesty, I would say that the oven makes a huge difference. If you're looking to make authentic Italian pizza, a pizza oven is a must.
By clicking the link below and purchasing from Ooni, you would be supporting this website. I've been using their ovens for a long time now and I wouldn't recommend them if I didn't believe in their products.
I’m Tom Rothwell and I’m super passionate about all kinds of homemade pizza! In the last few years I've been on a quest to find the perfect pizza. Now I'm sharing what I've found out with the world!